Cloudways is a managed cloud hosting provider with a focus on WordPress that offers a simple and straightforward solution for those who are looking for affordable and reliable web hosting.
It has been around for quite some time and it is a new solution and especially to that without technical background that comes with an easy-to-use interface for managing your WordPress sites from the cloud.
In this post, we’re going to go over how to set up a WordPress website on Cloudways, a new cloud hosting service that offers unlimited bandwidth, a built-in CDN, and more.
Disclosure: If you click any link on this page to purchase items or sign up for services, we might receive affiliate commission but at no extra cost to you.
Contents
How Cloudways is Different From Other Web Hosting Platforms?
Cloudways is different from most other traditional hosting providers because it is a managed cloud hosting provider. It allows you to choose from 5 different cloud providers which are Digital Ocean, Linode, Vultr, AWS, and GCP.
I will briefly go through the difference between traditional web hosting vs cloud hosting vs managed cloud hosting. I will be using my own term and definition hopefully it will not confuse you further on this.
Traditional Web Hosting
There are several different hosting options available to you for traditional web hosting. The most common and affordable service is called shared web hosting, which allows multiple websites including other websites that belong to others also to be hosted on the same physical server in the same data center. If you are looking for a basic solution with little to no cost, shared web hosting may be a good option for you.
However, if you need more resources, or if you are looking to scale your site in the future, you may want to look into VPS hosting. VPS hosting is where you are also allowed to host multiple websites on the same virtual server in a single physical server which is also shared by others in the data center. This type of hosting is most appropriate for those with large or higher traffic websites that require more resources like storage and bandwidth.
One of the main concerns of using traditional web hosting will be the limitations since you have no control over the server. Sometimes your site can be down due to the resource issue on the physical server as the server is also used to host their other client’s website. Since you have no control and visibility over the server and you have to wait for their Helpdesk to resolve the issue.
Some of the hosting providers I have used will be Hostgator and InMotion Hosting. In fact, I started off with Hostgator then move over to InMotion Hosting with their VPS plan. Here is the pros and cons:
Pros and Cons for Traditional Shared Hosting
Pros
- Affordable
- Suitable For Those Without Any Technical Knowledge
Cons
- No control over the physical server
- Server Performance also depends on other users using the same server
- Security Concerns as breach on other user websites might affect your website as well
Cloud Web Hosting
Cloud hosting is very different than a traditional website hosting plan. Instead of hosting your site on one physical server, it is spread across many servers that are hosted in different places. With this, it can bring better advantages like higher uptime and better scalability compared to traditional hosting
In addition, with the flexibility to scale and on-demand based on your needs and you only pay when you are using the resources. For example, if you need to create a new server just for 2 hours to do some testing, you can destroy the server after you use and you only will be charged for only 2 hours. Sounds better right instead of being charged monthly just to do some testing.
Furthermore, you have more control over the server too like having root access compared to the traditional hosting. There are also a few reputable cloud providers for you to choose from like AWS, Digital Ocean, Google Cloud, etc.
On the other side, cloud hosting can be challenging for those without any technical background like system administration, basic networking, Linux in cloud computing. The setup can be complex and the learning curve can be huge for those without technical knowledge.
Another downside will be you might spend more time on doing server maintenance or troubleshooting as well instead of beautifying and maintaining your website.
Pros and Cons for Cloud Hosting
Pros
- More control over the instance or server
- Pay as you use
- Easy to scale
- Flexibility creation and deletion of server based on demand
- Better Uptime
Cons
- Not suitable for those without any technical knowledge
Managed Cloud Hosting – Cloudways
Managed Cloud Hosting is almost similar to Cloud Hosting and the only difference will be the services & resources provided to you which will help you manage your website much easier.
In this case, Cloudways is one of the leading managed cloud hosting service providers in the market. It has its own custom control panel which helps you manage the servers and maintenance much easier.
As for cost-wise, it will be much higher than the native cloud hosting since managed service providers already make things much easier for you through their control panel integration. There are few other managed cloud hosting providers but in this article, we will focus on Cloudways.
Cloudways Pros and Cons
Pros
- Cloudways is much easier to use compared as it has own UI for user to manage the serverto native cloud hosting
- Cloudways Support is responsive.
- Cloudways Offers 5 leading cloud providers option for you to choose from
- Pricing is pretty straightforward and transparent
Cons
- More Expensive than Native Cloud Hosting
- Suitable for hosting but not for complex setup like auto scaling etc in the native cloud
How To Setup WordPress Site On Cloudways
In this section, I will try to break it down into smaller sections to make them easier to navigate.
Signing Up & Cloudways Pricing
You can sign up for the free trial to try out first after you feel comfortable. Currently, there are offering 3 days trial for new customers to have a feel of using managed cloud hosting. For my case, I did use tried their trial first before I migrated my other sites over to Cloudways from Inmotion Hosting.
The pricing plan is very straightforward and transparent. You can select from 5 different leading cloud providers based on the resources you required like the storage size, memory.
Create A New Server
Once you have an account with Cloudways, you can go to Servers at the top menu bar and then click on Add Server button.

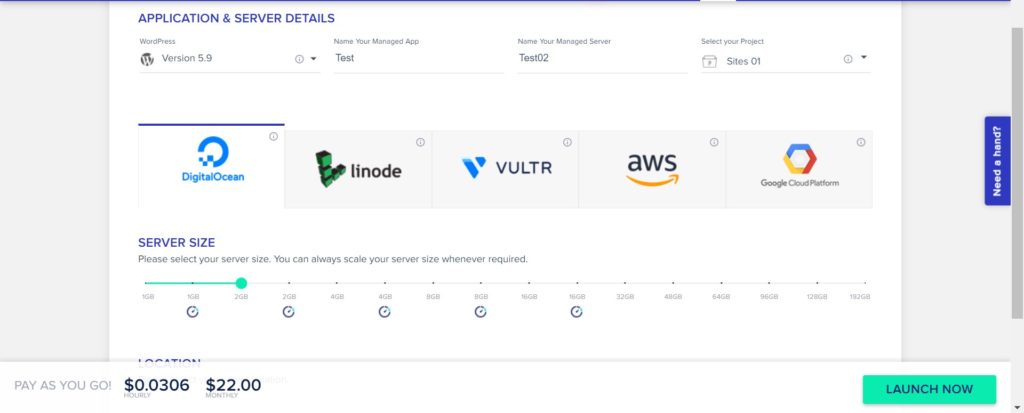
It will redirect to a page for you to select the Application type for this server. In this example, I have selected WordPress over here for the application. You can input the name of the managed app which I will usually name as my site for easy reference and also give a name for your server.
Cloudways also supported other applications like
- WordPress with WooCommerce
- PHP custom application
- Laravel
- Magento
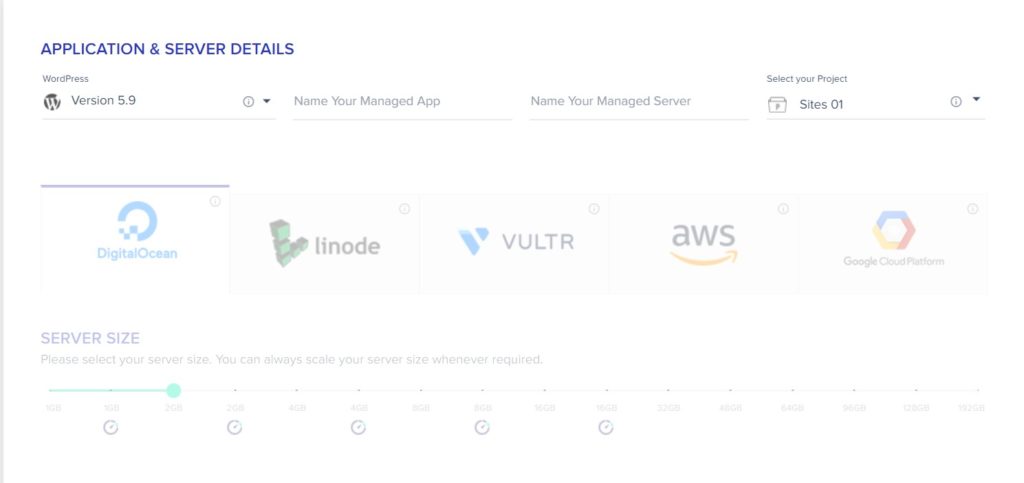
After which, you will need to select one from the 5 leading cloud providers.
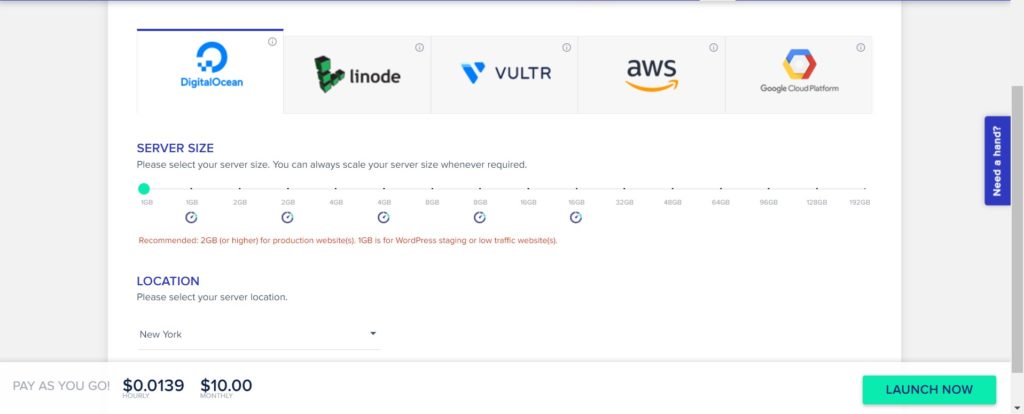
Next, you will need to select the Server Size, it will depend on how big and resource-intensive but you can upscale the server anytime if you feel that it needed more resources. You also may select the location too, for me I usually select any part of the US since most of my sites are targetting US visitors.
The cost will be displayed at the bottom based on the server size and cloud providers. And click on the launch now button to provision the new server.
It will take less than 10 mins for your new server to be ready.

Server Management
In this section, I will just briefly run through all the features available in server management. Here is the overview of the Master Credentials. The username and password are provided and this account is also known as root access to your server.
You can manage your server via SSH or upload files via SFTP with the credential and public IP given to you here.

Monitoring
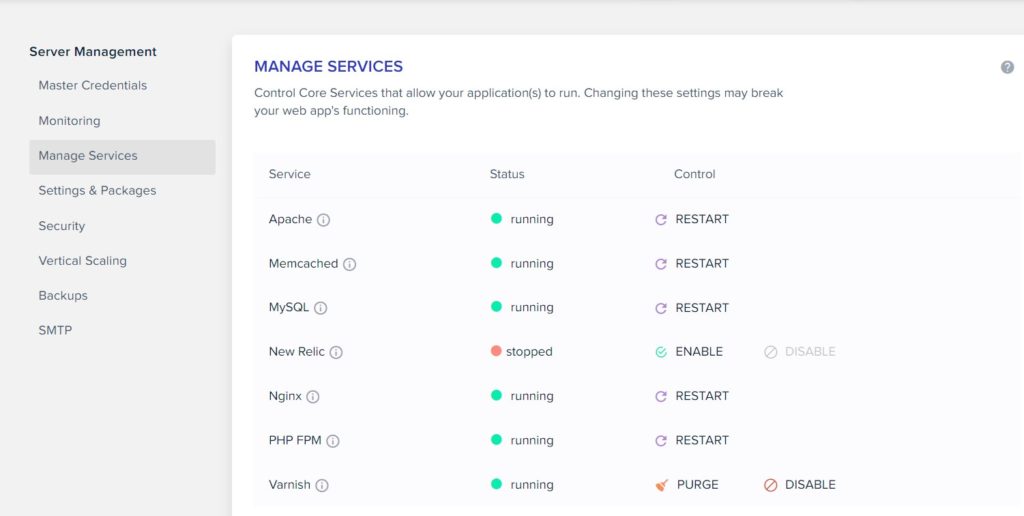
Manage Service
Over here, you can manage and check all the services running via UI easily without using a command prompt.
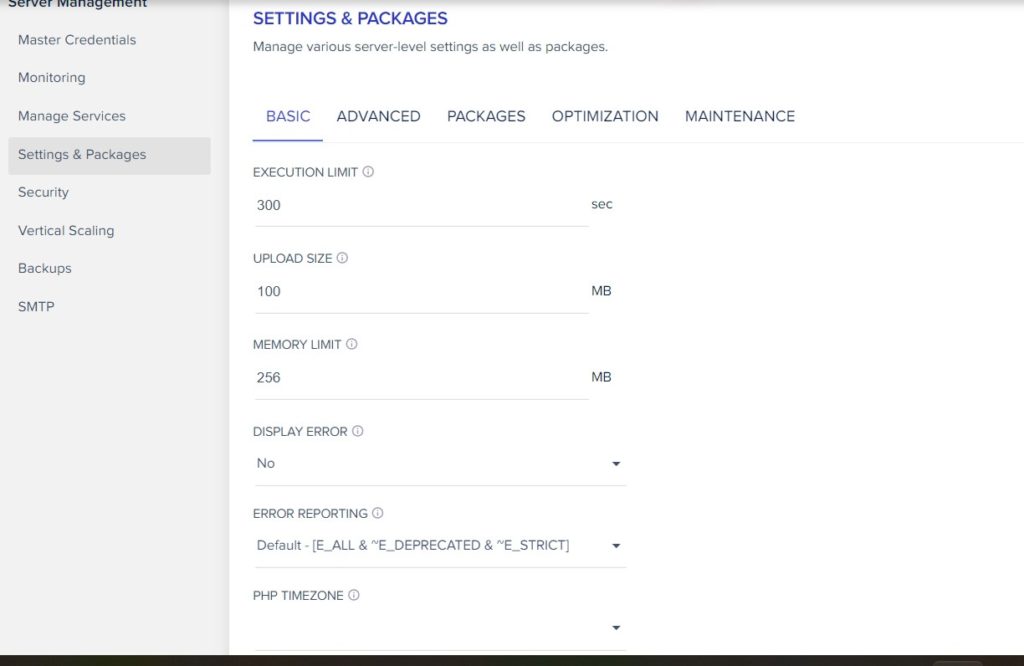
Settings and Packages
You can configure the settings for the PHP through this control panel. As for the Packages tab, you can manage PHP, MYSQL, REDIS, etc packages with just a few clicks.
For scheduling server maintenance and doing some disk cleanup to optimize your server also can be found here.
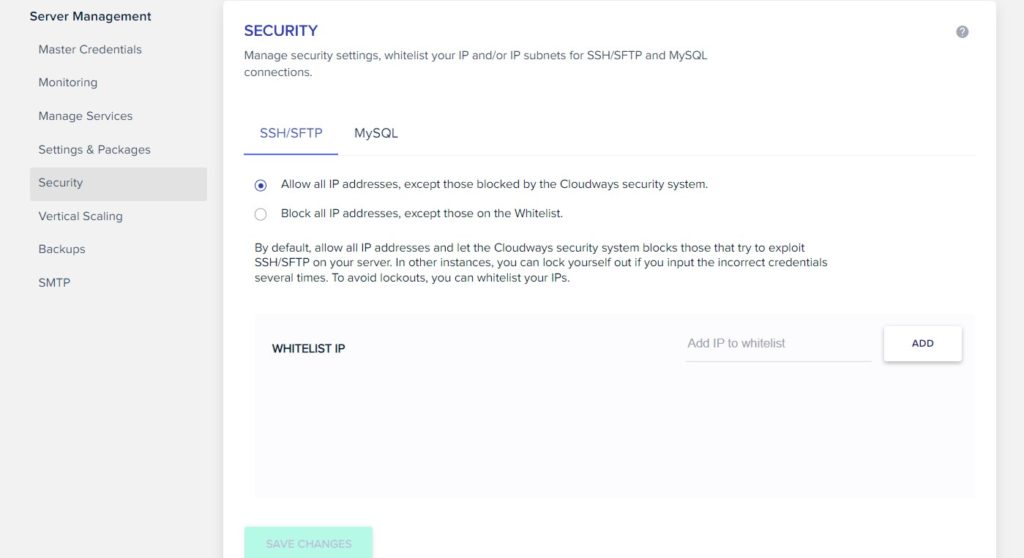
Security
Cloudways also comes with a very basic whitelisting of IP addresses for SSH, SFTP, and MySQL services. This allows you to either only those in your whitelist or deny access to those being blocked by Cloudyways Security System.
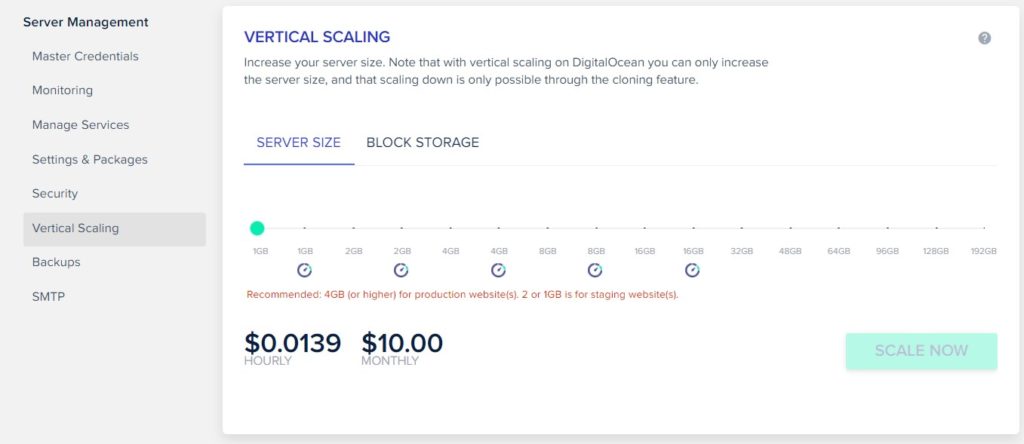
Vertical Scaling
You can scale up your server size anytime that you needed. Please note that you are able to scale up but it is not possible to scale down.
In order to scale down, you may have to manually create a new server again and migrate the sites over to the new server.
As for Block Storage, it is referring to the additional storage attached to this server. You are able to increase the additional storage. So far, I have not used this Block Storage yet.
Backup and SMTP
For backup, you are able to configure the scheduler to do backup. In addition, you also can do an on-demand backup when you require.
Cloudways also allows you to configure SMTP service from their control panel.
Application Management
When I select Application Management, I can manage the WordPress app under application management in this newly created server earlier. In this case, my WordPress App I have named it as TestSite.
As you can see in the screenshot below, there is a URL provided to access your WordPress Site & Admin Panel directly with the administrator credential provided.
You are also able to install more applications on a similar server and Cloudways do not restrict number of sites and applications on one server. I will cover briefly in the next section.
In this following section, I will simply just go through some of the key essential features like the SSL certification, Domain Management
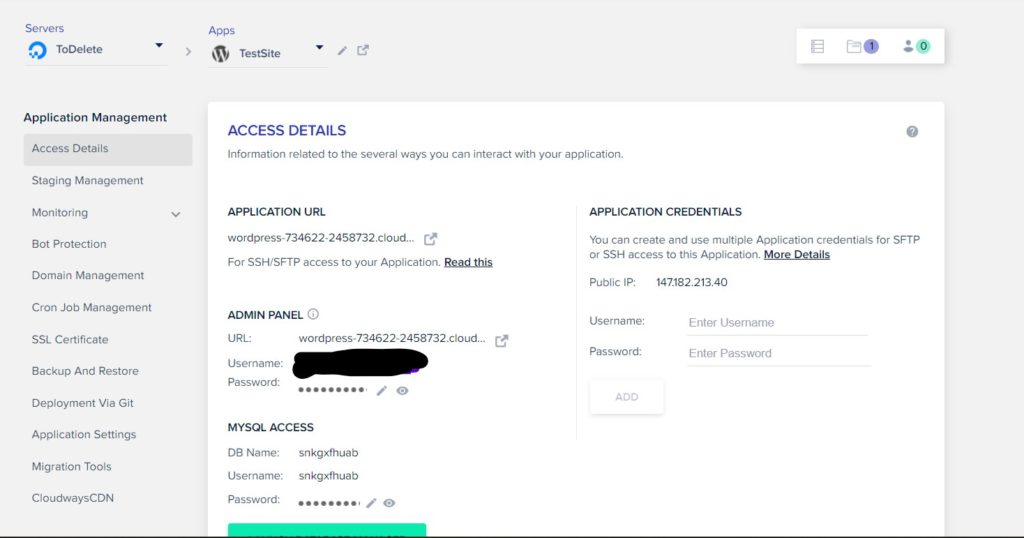
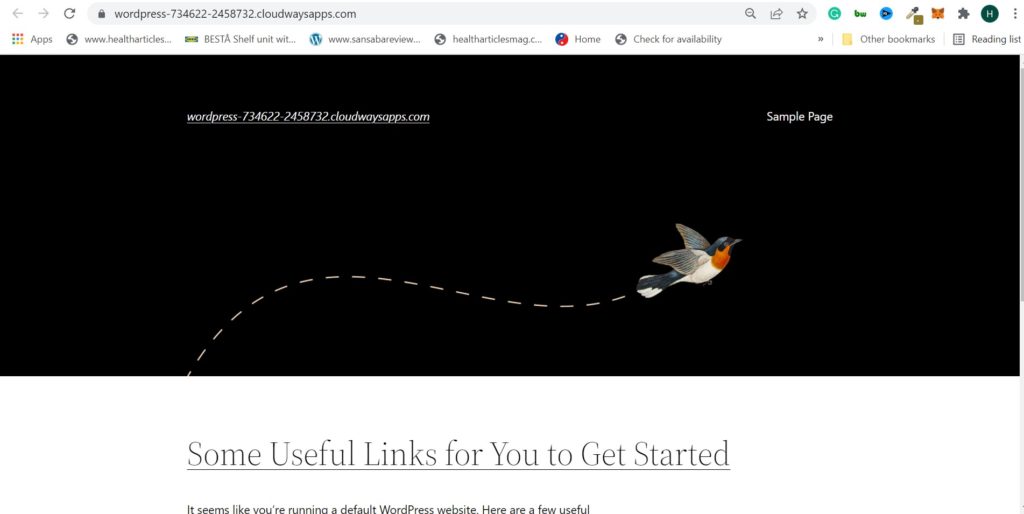
If I click on the Application URL, it will actually bring me to the newly created WordPress page.
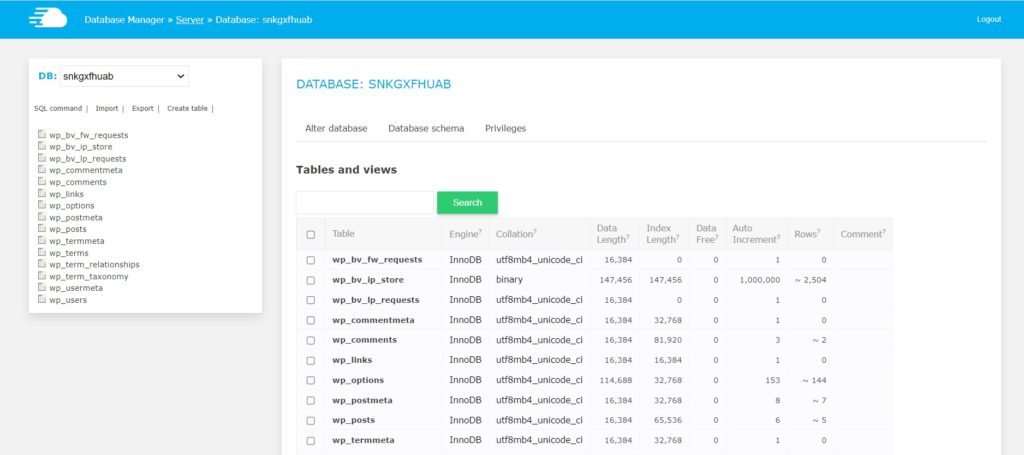
As for Database Access, Cloudways does have its own Database Manager to manage the database. The button is located under the MYSQL access.
If you use PHPMyAdmin before, it almost works similar to creating tables, queries through UI but I feel that PHPMyAdmin has more features compared to its Database Manager.
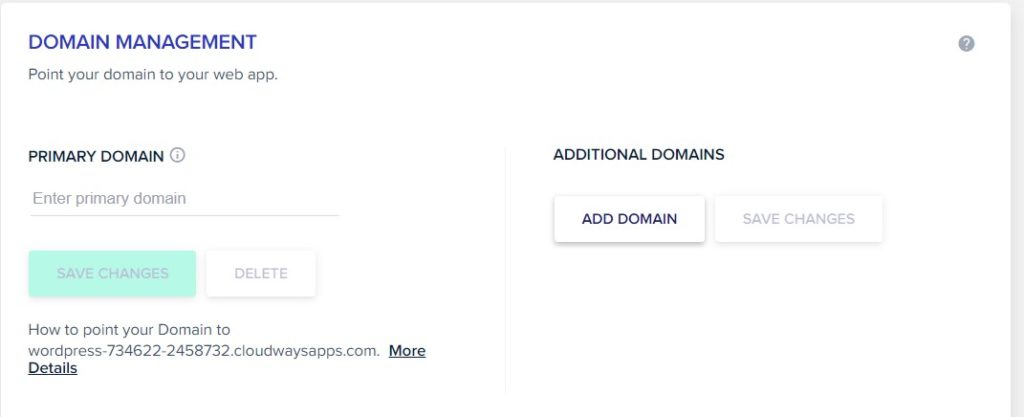
Domain Management
If you already have a domain name ready, you can configure it under Domain Management to point your domain to Cloudways WordPress Site.
You can refer to More Details to configure DNS records.
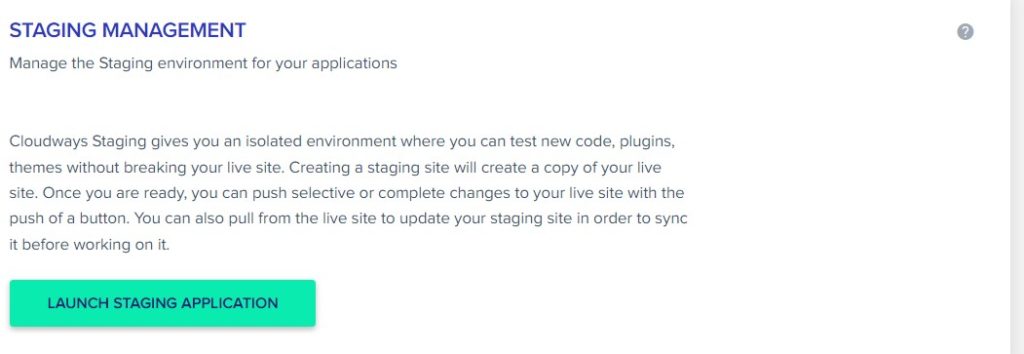
Staging Management
It is a very useful feature especially when you need to test new code/ WordPress themes or plugins without affecting your actual site.
The Staging Site can be deployed to the same server as your production site or to another server if you have more than 1 server in Cloudways.
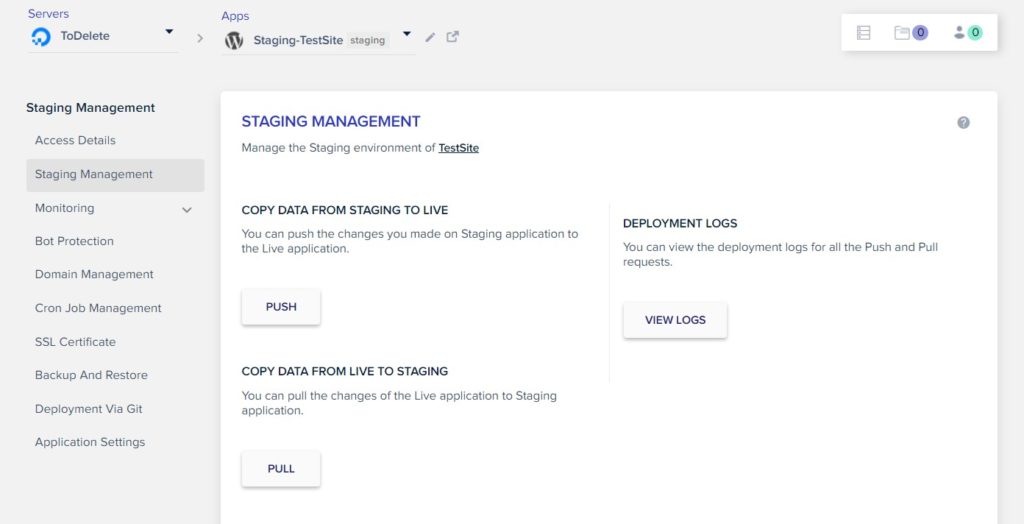
To deploy a new staging site, will only take you less than 10 mins. As you see from the screenshot below, I can manage the staging site just like a live site.
When you go into Staging Management, you are able to deploy from Staging to Live site, or you also able to pull data from the Live site to your Staging site.
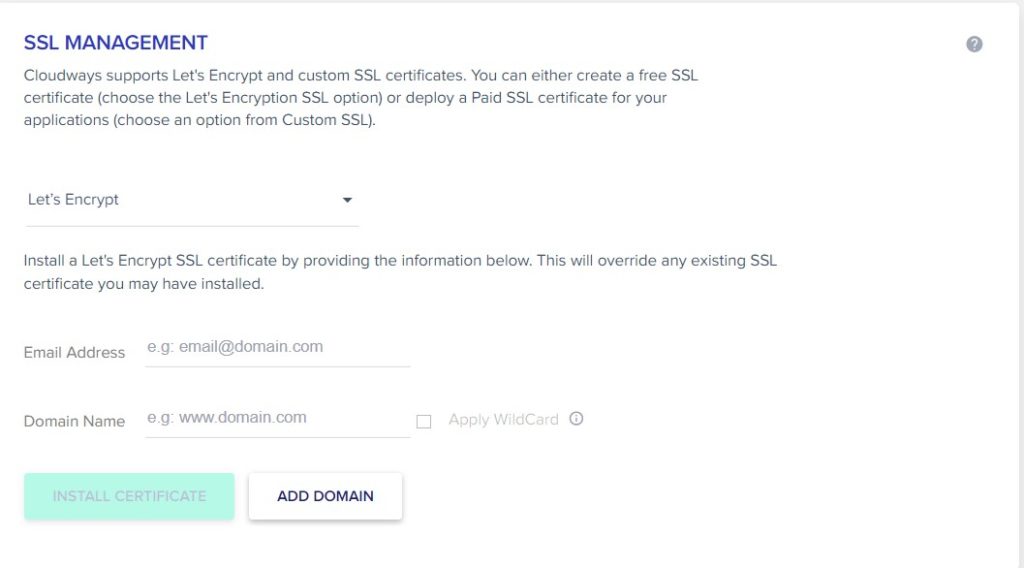
SSL Certificate
There are 2 options to manage your SSL certification for this new WordPress site.
Either you can install Free Let’s Encrypt SSL cert provided by Cloudways or you can also import your SSL certification if you already have one.
Cron Jobs Management
Cloudways also allows you to create cron jobs via their control panel. Based on my personal experience, it works almost similar to the one in Cpanel. I have no issue migrating my existing cron jobs from Cpanel to Cloudways.
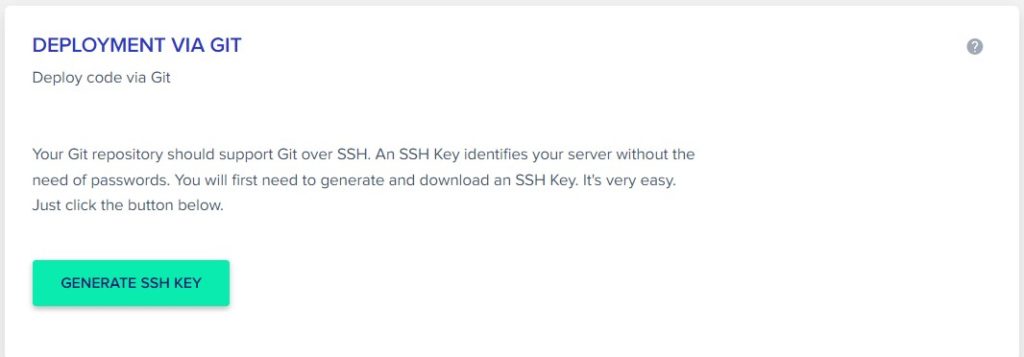
Deployment via GIT
I have not used this feature yet even though I have deployed my custom PHP app in Cloudways but I am doing manual uploading via SFTP. But I feel it will very useful feature for those developers to be able to deploy their code via their repository.
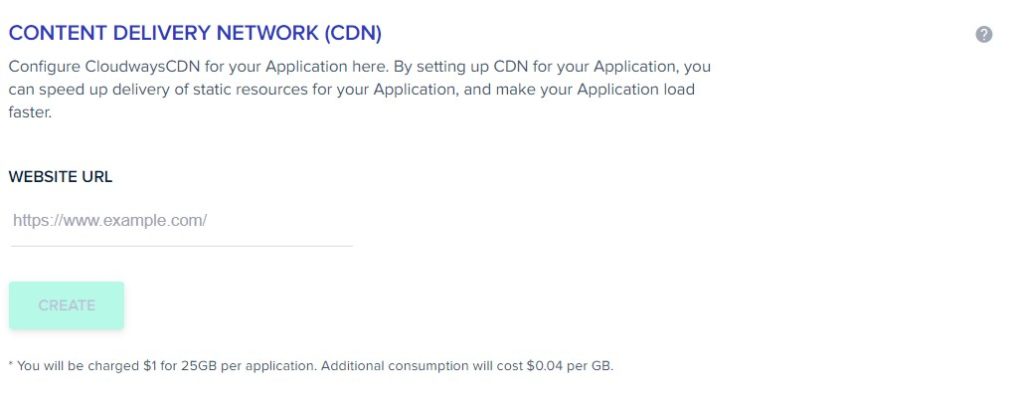
Cloudways CDN
Cloudways CDN is only available for those hosting with Cloudways. I have not used any of their CDN yet but I will be going to try out on one of my websites. Will provide more details with my experience and review. Here is just a snapshot how to interface looks like.
The cost will be $1 for 25GB per application as indicated below.
Migrating Your Existing WordPress Site to Cloudways
This is very straightforward as there are tools available for you to do the migration. Firstly, you will need to create a new WordPress application on your server.
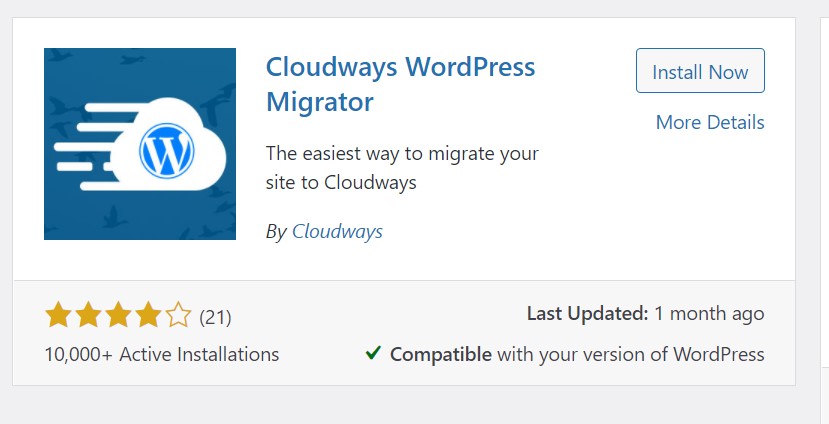
Next, you will need to download WordPress Plugin called Cloudways WordPress Migrator on the site that you want to migrate over. This plugin is pretty straightforward and just simply follow the steps to enter the info like credential , URL for the new website in Cloudways and the tool will do the rest.
After the migration is complete, the next thing you will need to do is to update the domain dns to point to Cloudways and setting up SSL cert etc.
Personally, I have used this tool when I migrating over all my existing wordpress site from InMotion Hosting to Cloudways.
How Can I Delete The Server?
To delete the server, you simply go over to the server dashboard and click on the 3 dots icon and select Delete.
You are also able to add more applications to the server, in other words, there is no limitation on the number of applications on the server. It will depend on your server resources like the memory, storage able to support it.

Final Thoughts
Hopefully, you have a better picture and understanding of Cloudways, especially for those who are still worried about this newer technology compared to traditional hosting.
Personally, I have started with Cloudways in Mar 2021 from Inmotion Hosting, it comes to a year now. My experience with Cloudways is very pleasant and their engineer is really helpful & responsive when initially requiring more assistance after all my sites migrated.
I was unable to fully everything like their add-on service DNS, email setup in this post but will try to cover it in another separate post. Feel free to let me know too what do you think of Cloudways in the comment below